How to create Dev Protocol Dapp (3/3)
Hello permalink
I would like to create a simple Dapp in 3 steps using the library provided by the Dev Protocol.
This is the third article. If you haven't seen it before, it's a good idea to go back and move on.
This time I would like to make a connection with my wallet and the process of staking to tokens.
- STEP01: Prepare the development environment
- STEP02: Login to MetaMask
- STEP03: Preparing to stake
- STEP04: Create a staking process
STEP01: Prepare the development environment permalink
We will continue to use the development environment that was created last time.
This time we will handle Ethereum with a window object, so let's create a type file for it. It also uses the HttpProvider type, so install it.
npm install web3-coreSave the code below as src/types/window.d.ts
import { HttpProvider } from 'web3-core'

export interface RequestArguments {
    readonly method: string,
    readonly params?: unknown[] | object
}

export interface Ethereum extends HttpProvider {
    request: (args: RequestArguments) => Promise<unknown>
    isMetaMask: boolean
    chainId: string | undefined
}

declare global {
    interface Window {
        ethereum?: Ethereum
    }
}
window.ethereum is an extension that is inserted when you add MetaMask to your browser.
The above type declares only the one used in this Dapp. If you want to know everything, you can check from the following
https://eips.ethereum.org/EIPS/eip-1193
About the page to be created this time permalink
This time, I would like to add a staking function to the detail page created last time.
By pressing the button on the token, it will be stakes as 1DEV, 5DEV, 10DEV.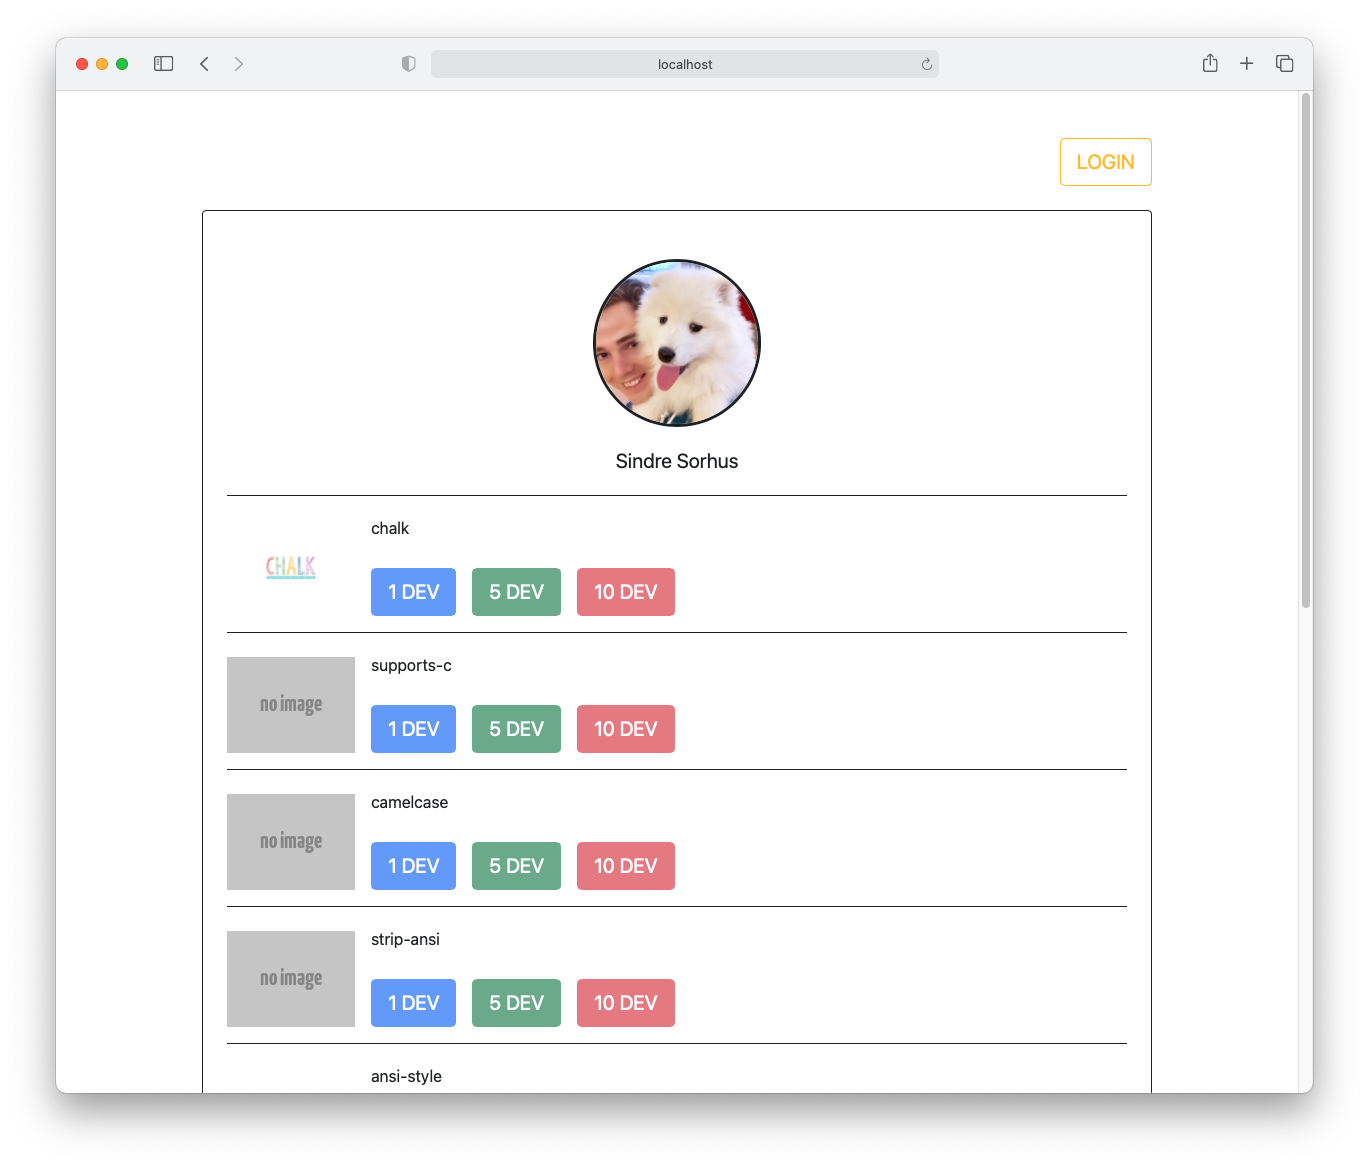
STEP02: Login to MetaMask permalink
You need to connect to your wallet (MetaMask) to stake your DEV.
MetaMask is a wallet for Ethereum.
Please install the Chrome version of MetaMask from here
This time I will use MetaMask, but there are various other wallets for Ethereum.
Find Ethereum Wallets
You need a wallet address to stake.You must be logged in to MetaMask to get your wallet address
I have prepared a sample code for that.
Save the code below as src/assets/ts/wallets.ts
/**
 * Login process when the LOGIN button is pressed
 * If you can get the address from MetaMask, you can login.
 */
export const clickLoginButton = async function () {
    if (!isMetamask()) {
        alert("Please install MetaMask")
        return;
    }

    if (! await connectMetaMask()) {
        alert("Please allow connection with MetaMask")
        return;
    }

    if (! await isMetaMaskLogin()) {
        alert("Please login from MetaMask")
        return;
    }

    if (!isMainNet()) {
        alert("Please switch to the main net")
        return;
    }

    alert("You are logged in to MetaMask")

    loggedInStyle(this)

    window.location.reload();
}

/**
 * Used when you want to judge the login status at the time of initial display
 */
export const isLogin = async (): Promise<boolean> => {
    if (!isMetamask()) {
        return false;
    }

    if (! await isMetaMaskLogin()) {
        return false;
    }

    if (!isMainNet()) {
        return false;
    }

    return true;
}

/**
 * Style change when login and non-login of login button
 * @param button
 */
export const loggedInStyle = (button: HTMLButtonElement) => {
    button.classList.replace("btn-outline-warning", "btn-outline-success");

    button.textContent = "LOGGED IN";
}

/**
 * Determine if MetaMask is connected to the main network
 */
function isMainNet() {
    return parseInt(window.ethereum.chainId) === 1;
}

/**
 * Determine if MetaMask is installed
 */
function isMetamask (): boolean {
    return !! window.ethereum && !! window.ethereum.isMetaMask;
}

/**
 * Get the wallet address from MetaMask
 */
async function getAccount() {
    const accounts = await window.ethereum.request({method: 'eth_accounts'}) as string[];

    return accounts[0];
}

/**
 * Determine if you are logged in
 */
async function isMetaMaskLogin(): Promise<boolean> {
    return !! await getAccount();
}

/**
 * Connect with MetaMask
 */
async function connectMetaMask(): Promise<boolean> {
    try {
        await window.ethereum.request({method: 'eth_requestAccounts'})
    } catch (e) {
        if (e.code === 4001) {
            return false
        }
    }

    return true
}
For more details on how to use MetaMask, please see here.
After writing the code, add the following code to main.ts.
This is the code that gets the HTMLElement of the login button and calls the clickLoginButton created above when the login button is clicked.
// Add Import to call the process at the beginning of the file
import {clickLoginButton} from "./wallets";

...

    if (document.getElementById("page-tokens")) {
      // Write below the if statement
      const loginButton = document.getElementById("login-button");

      loginButton.addEventListener('click', clickLoginButton);

      ...
STEP03: Preparing to stake permalink
If you want to stake Dev, use the library dev-kit provided by Dev Protocol.
dev-kit is a library that makes it easy to execute contracts provided by the Dev Protocol from the front end. Details can be found from here.
install dev-kit
npm i -D @devprotocol/dev-kitAlso, this time we need to connect to the Ethereum node, so install web3.js as well.
For web3js, please refer to this Documentation.
npm install web3When staking with dev-kit, use as follows
import Web3 from "web3/dist/web3.min";
import {addresses, contractFactory} from "@devprotocol/dev-kit";

// create Client
const provider = new Web3(window.ethereum)
const clientDev = contractFactory(provider.currentProvider)

// Get the DevProtocol address of the main network
const registryContract = clientDev.registry(addresses.eth.main.registry)
const address = await registryContract.token()

// staking
clientDev.dev(address).deposit(['property address'], ['amount of DEV'])
STEP04: Create a staking process permalink
Code so that staking is performed at the push of a button. Add the following to main.ts
import {clickLoginButton} from "./wallets";
import Web3 from "web3/dist/web3.min";
import {addresses, contractFactory} from "@devprotocol/dev-kit";

...

if (document.getElementById("page-tokens")) {
    ...

    const tokensHTMLElement = document.getElementById("tokens");

    for ( const token of await getTokens(creatorAddress)) {
        ...
    }

    // Get all buttons for all tokens
    const buttons = tokensHTMLElement.querySelectorAll('button');

    // Add a click event to the button
    for ( const button of buttons) {
        button.addEventListener('click', async function () {
            const address = this.getAttribute("address")
            const amount  = this.getAttribute("amount")

            await stakeDev(address, amount)
        })
    }
}
The code from here can be added below the above code or written in another file and then imported.
async function stakeDev (propertyAddress: string, amount: string) {
const provider = new Web3(window.ethereum)
const clientDev = contractFactory(provider.currentProvider)
const registryContract = clientDev.registry(addresses.eth.main.registry)
const address = await registryContract.token()
return clientDev.dev(address).deposit(propertyAddress, amount)
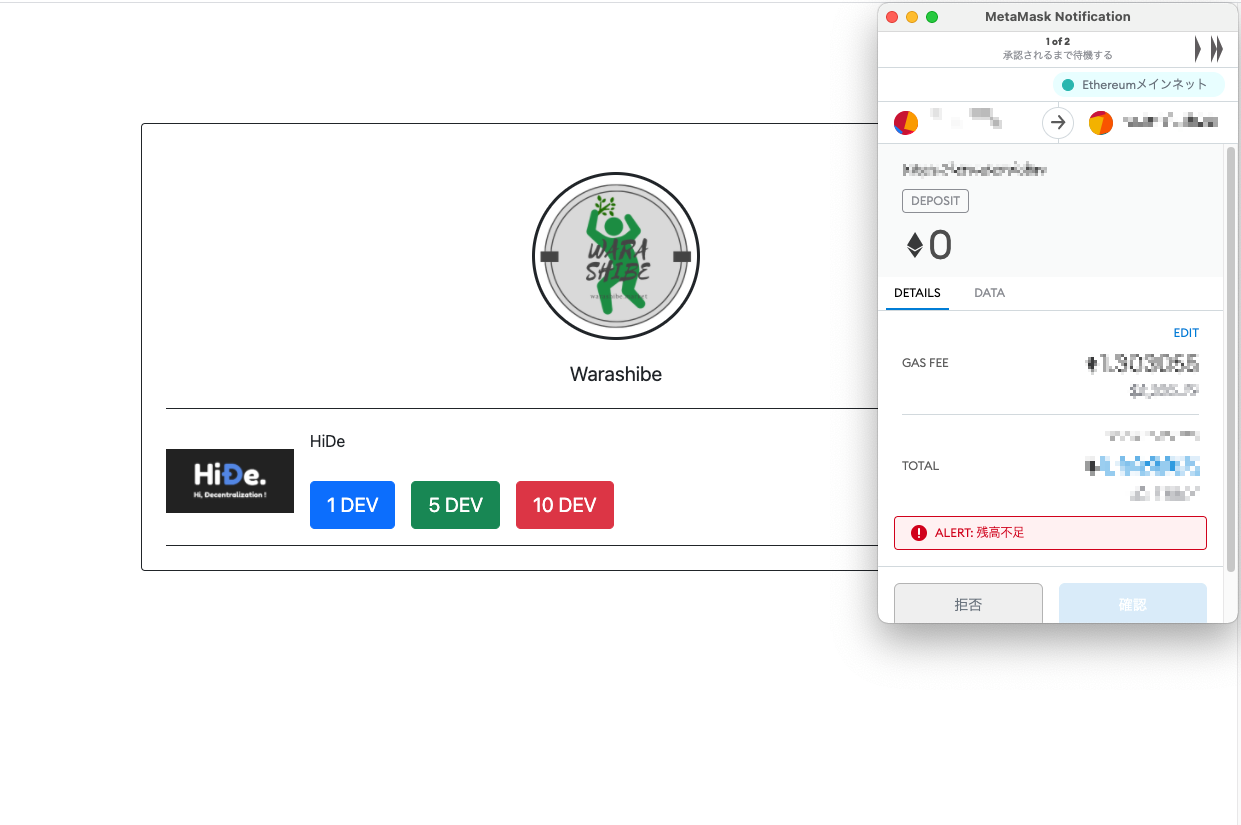
}After making the coding and minor modifications so far, pressing the button will launch MetaMask as shown below.
You can check the source code of the completed version from the following
https://github.com/kazu80/tokener-find/tree/master/src
Summary permalink
This completes the simple Dapp creation using the library provided by Dev Protocol Dev Protocol.
The various libraries also have various functions not introduced this time.
I would like to introduce those functions as well, so please look forward to it.
🌈 Was this helpful ?
In order to provide you with better contents in the future, please let us know your questions, feedbacks etc.🌱
▶ Post on Forum
- Dev Protocol releases all codes as OSS in public. Your contributions are welcome.(Sometimes there are bounties.)
▶ Dev Protocol GitHub
- DIP (Dev Improvement Proposal) process is also released. We’re looking forward to seeing your comments on it.🌟
▶ DIP URL